


”")
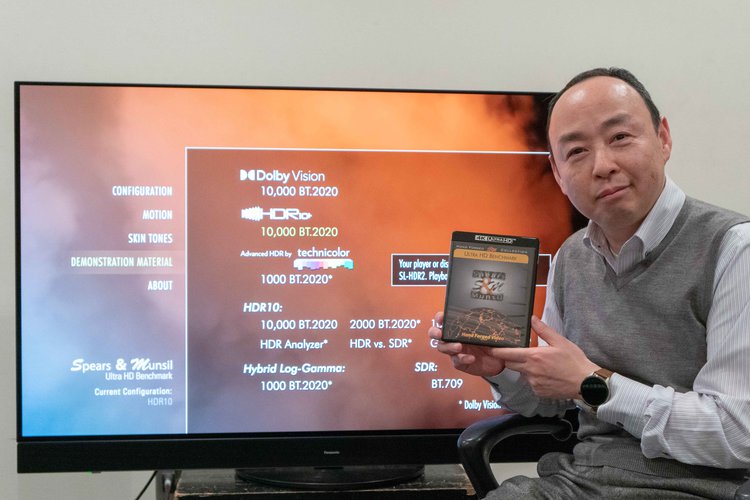
Scenic Labs “Spears & Munsil Ultra HD Benchmark (2023)” ¥8,800 (tax included)
This software contains a wide range of video test patterns, many of which are useful in professional settings, such as evaluation patterns using measuring equipment and calibration patterns, but test patterns that can be used even when measuring equipment is not in use. Included. In this article, we will present how to take advantage of the “Spears & Munsil UHD HDR Benchmark (2023)”, which is easy for general audio-visual fans to try.
Kenzo Konoike offers test patterns that can be used immediately
■ 10-bit connection
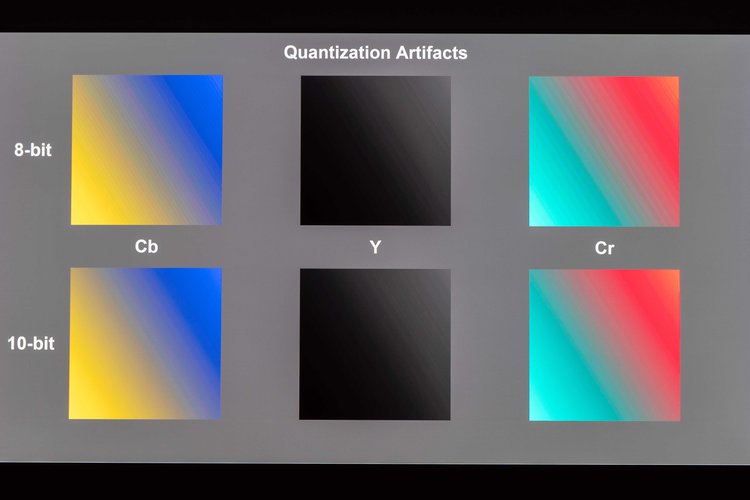
First, check your basic connection settings. To check YCbCr for color/color space information, use “Quantization Rotate YCbCr” in the “Motion/Motio HFR” category in “ADVANCED VIDEO” on Disc 1. There is a part where 8-bit and 10-bit gradation rotate, and if you see bands (a striped pattern like lines contour) is similar to 8 bits within a 10-bit frame, you can be sure that 10 bits are not connected. Review your player and display settings, and if 10-bit gradation can be displayed smoothly, that's fine.
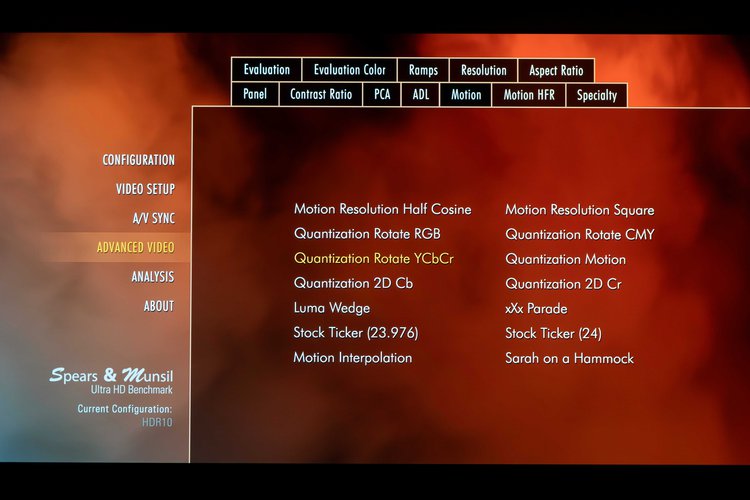
“Quantization rate YCbCr” is valid for checking 10-bit connection
“YCbCr Quantization Rate” display.
■Over scanning
“Overscan” is a function that enlarges the image by about 10%. During broadcasting, unnecessary information may be displayed above and below the picture, so in order to push it out of the frame, the function is turned on on a 4K TV. There are cases where, however, digital broadcasting does not have this problem at all, and by enlarging the image by overscanning, it no longer displays “dot by dot”, which is undesirable in terms of resolution. Another problem is that the surroundings cannot be seen in the video as the creator intended.
This is “Framing” in the “Baseline” category in “Video Setup” of Disc 1, and you can check the source area displayed on the screen. Additionally, you can check out the negative effects of overscan using the Single Pixel Checkerboard in the Evaluation in Advanced Video. There is no problem if the single-dot checker pattern is displayed without blur. When overscan is turned on, a moiré-like pattern appears, making it easy to check.
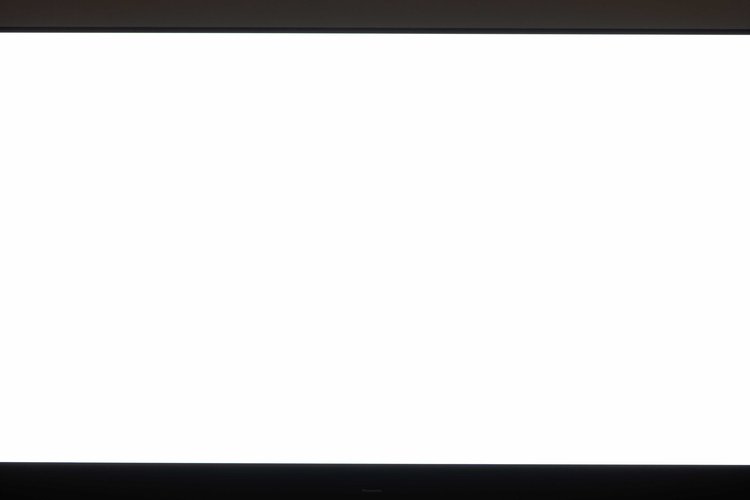
The Single Pixel Checkerboard display appears blank at first glance
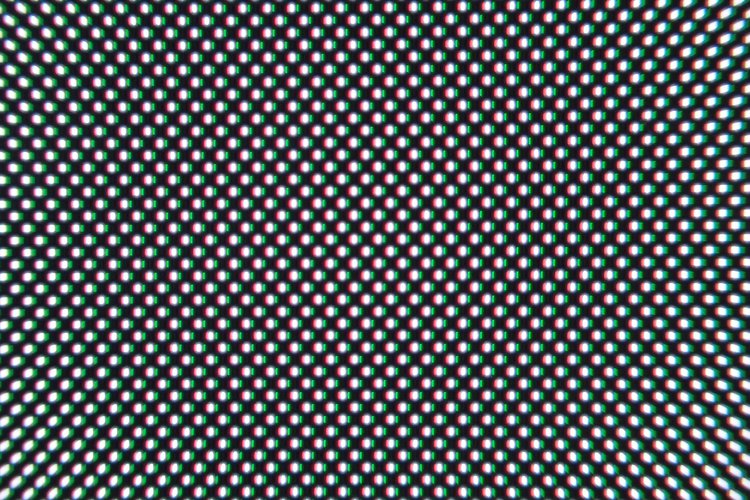
When zoomed in, white and black dots are displayed alternately.
■ Adjust the black level
“Black Level” is standard black brightness. Originally “black = 0cd/m2” is fine, but if the viewing room is not a darkroom, “black collapse” occurs where near-black tones are buried by ambient light. In dark scenes in movies, a large amount of information is lost due to power outages, which can cause Problems understanding the direction of the film, such as making it impossible to see people in the dark.
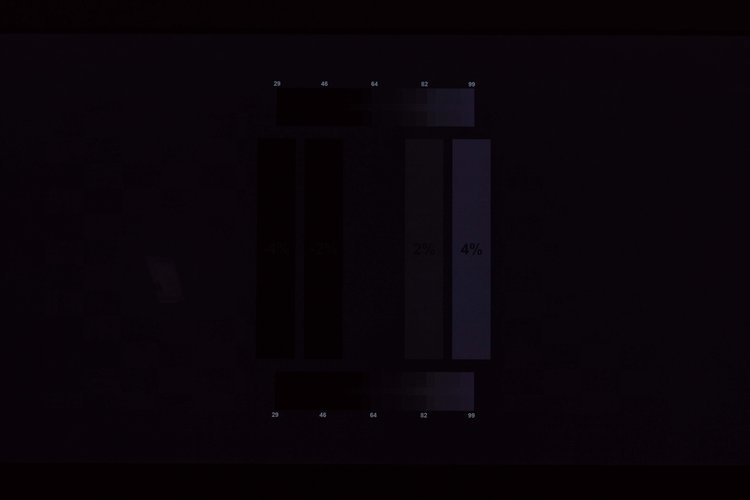
Brightness display. -4%/-2%/0%/+2%/+4% frames are displayed
“Brightness” in the “Baseline” category of “VIDEO SETUP” on Disc 1 allows you to adjust the black level appropriately according to your viewing environment. The adjustment method is to set the “Black Level” (Brightness) of the video device to a high level once, after the whole pattern becomes visible, no black color below standard such as “-4%” and “-2%” will be visible. Set the black level as low as possible. It is convenient to have a setting where “+4%” is clearly visible and “+2%” is slightly visible.
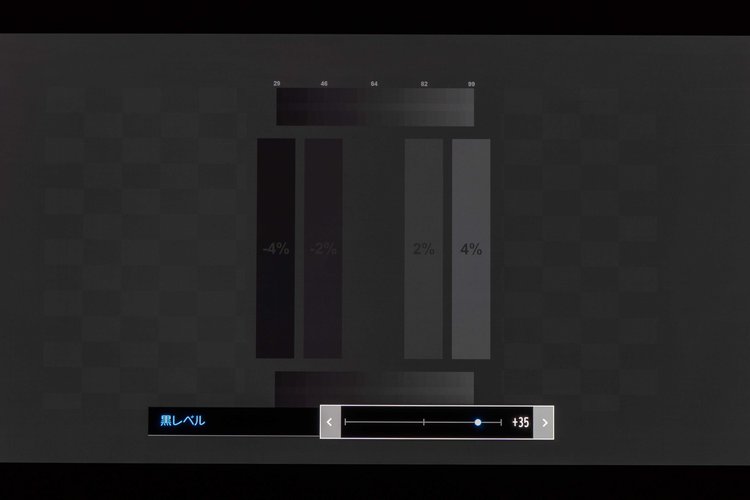
If the Black Level is raised too high which is NG.all shades of black become visible.
The “Spears & Munsil UHD HDR Benchmark (2023)” records patterns in HDR10+/Dolby Vision/SDR, so you may want to adjust them as necessary. By the way, in the case of HDR, the “white level”, which can be said to be the same as the black level, is set by the manufacturer according to the brightness performance of each model, so it is generally better for users not to adjust it. This is also mentioned in the instruction manual for this disc.
■ Adjust sharpness
“Sharpness” is an element related to the sense of detail in images. If you increase the density, the image will appear sharper, giving the impression of high resolution at first glance. However, as television added an outline called “depict,” the amount of information decreased. The biggest drawback is the disappearance of the “bokeh” effect, which leads to a loss of 3D and depth, resulting in a flat image.
In “Sharpness” in “Baseline” in “VIDEO SETUP” on Disc 1, you can see that when sharpening is applied aggressively, a black or white image appears at the border between dark gray and light gray. Watch the video from a viewpoint and adjust the sharpness to a level where you can't see the shot.
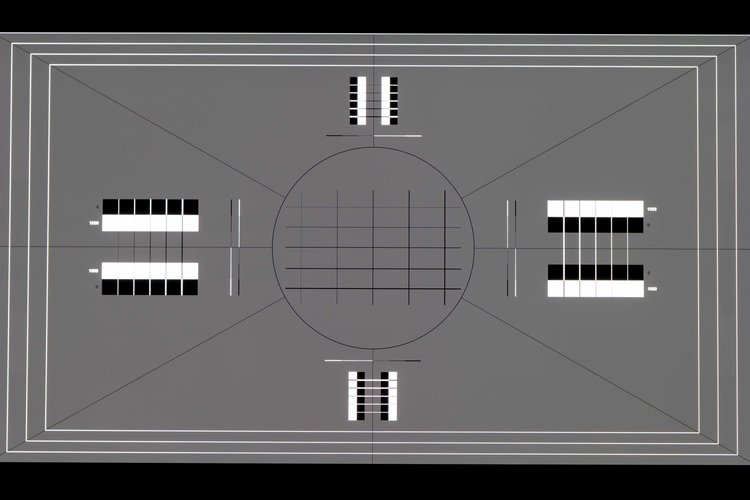
Sharpness display.
■Afterimage and frame interpolation
You can check for adverse effects caused by afterimage and frame interpolation from video equipment by checking the “Stock Bar” in “Motion/Motion HFR” of “ADVANCED VIDEO” on Disc 1.
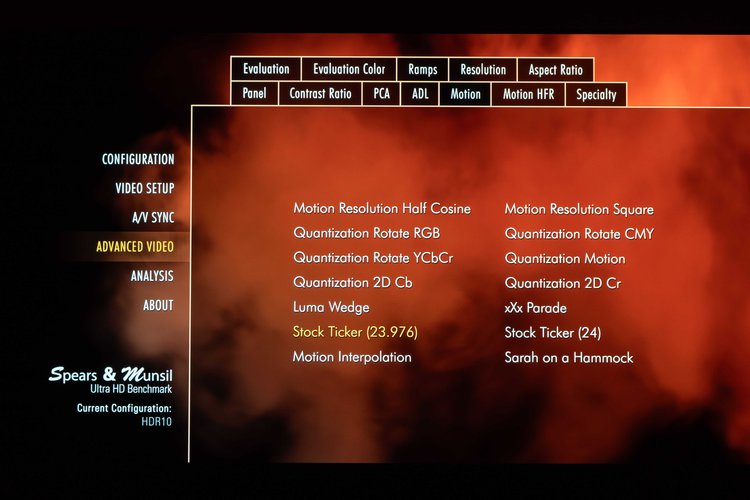
The Stock Index is available in two types: 23.976/24. Included in both motion/motion HFR
The subsequent images can be confirmed by the clarity of the horizontal scrolling text and the way the video looks. The drawback of frame interpolation is that if you pay attention to the area around the vertical lines that move a little faster when you scroll horizontally, you can see how the image is broken and the resolution of the video engine is affected, I can understand that. If the image engine is not accurate, the image will be greatly distorted, so in this case, it would be better to stop the frame interpolation function and compare the differences.
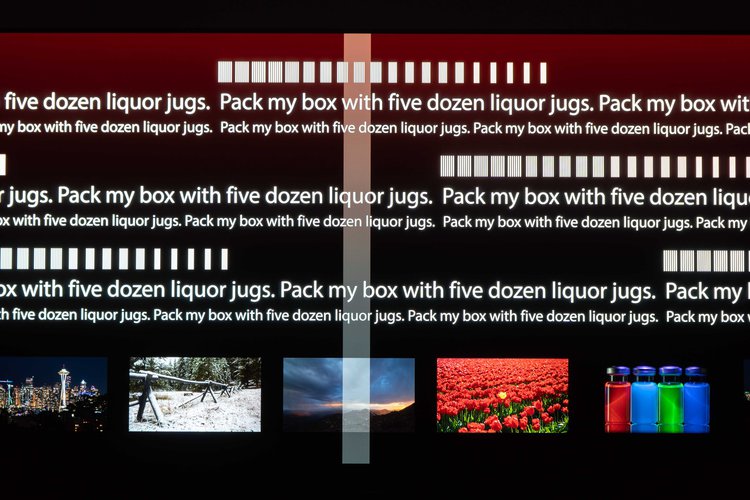
“Stock bar display. The image flows from left to right.
■A/V Sync
Test video to check the discrepancy between video and audio, also known as lip sync. If there is a discrepancy, make adjustments using the AV amplifier functions. Since you cannot know the state of the material itself while watching a movie, etc., it is useful to use standard software test patterns.
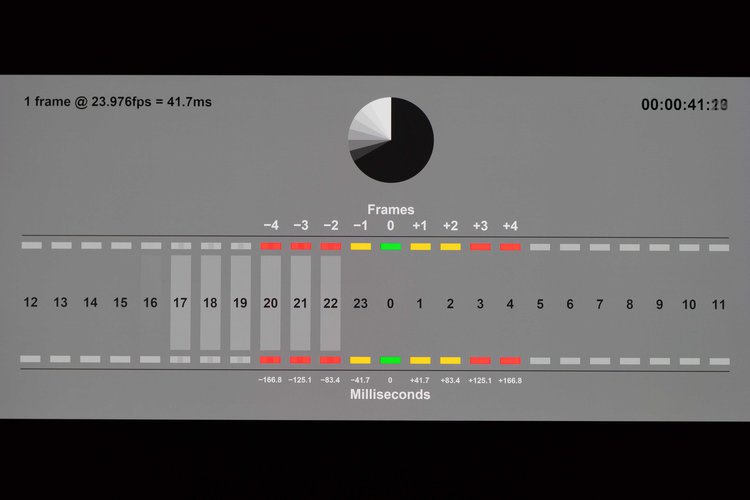
“A/V Sync” display.
■ HDR Analyzer
An interesting mode added from “Spears & Munsil UHD HDR Benchmark (2023)” is the “HDR Analyzer” in “DEMONSTRATION MATERIAL” on Disc 2. A mode in which the screen is split into 4 parts so that, in addition to the normal demo video, you can also: Checking the screen where the material was measured and evaluated using an analyzer.
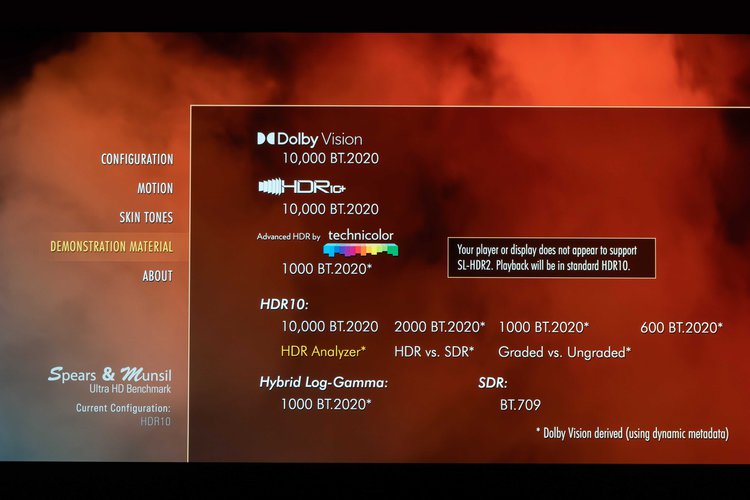
“HDR Analyzer” contains items in “DEMONSTRATION MATERIAL” on Disc 2.
In the color gamut histogram, you can see how the color information in the display is distributed, and if the DCI-P3 color gamut (triangle) is exceeded, the part of the image that exceeds black and white will be displayed in red. . The demo video was made to BT.2020 standards, and there are scenes that go beyond DCI-P3, but there is almost no current video equipment that goes beyond DCI-P3, so I'm wondering how the monitor I have will display. Check because it helps you understand your ability.
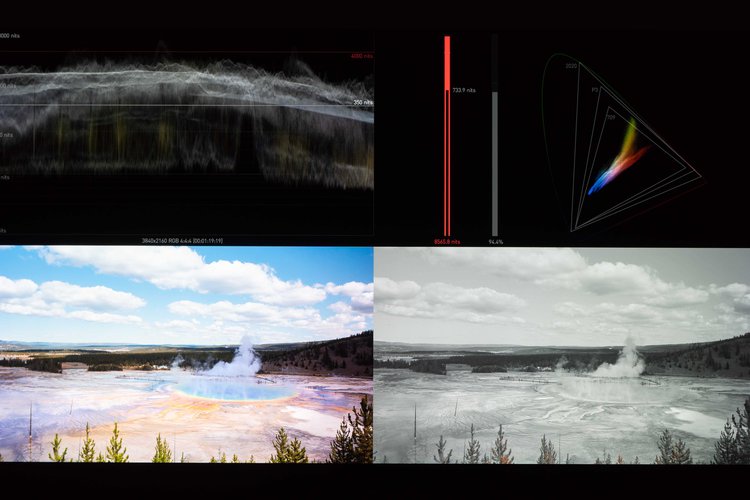
Analysis details when there are many high brightness components in horizontal images
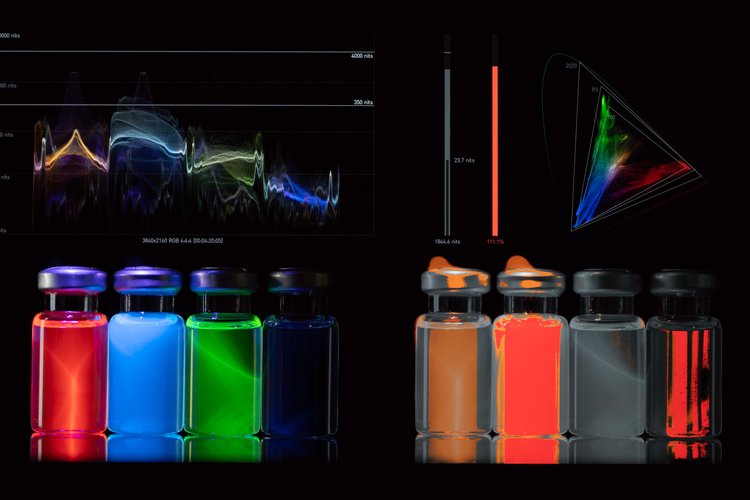
Analysis details when there is too much color component information in darkroom images
■ Sound test/rattle test
In “Spears & Munsil UHD HDR Benchmark (2023)”, audio-related test patterns have been added to Disc 3. “Pan” in the “Audio” section contains patterns in which the audio moves horizontally or diagonally.
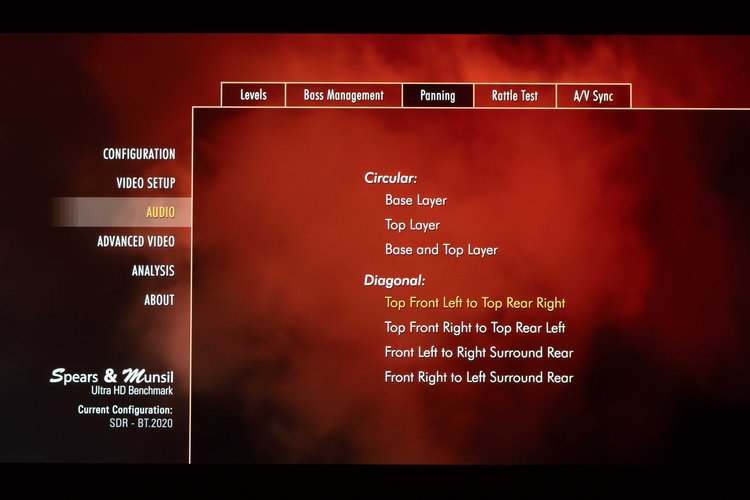
Disc 3 includes test pattern for “AUDIO”
If the test tone moves in line with the on-screen graphics, your audio system is set up correctly. It's interesting to be able to see how immersive the sound sounds even if you don't have a 3D audio environment and are using a TV or speaker.
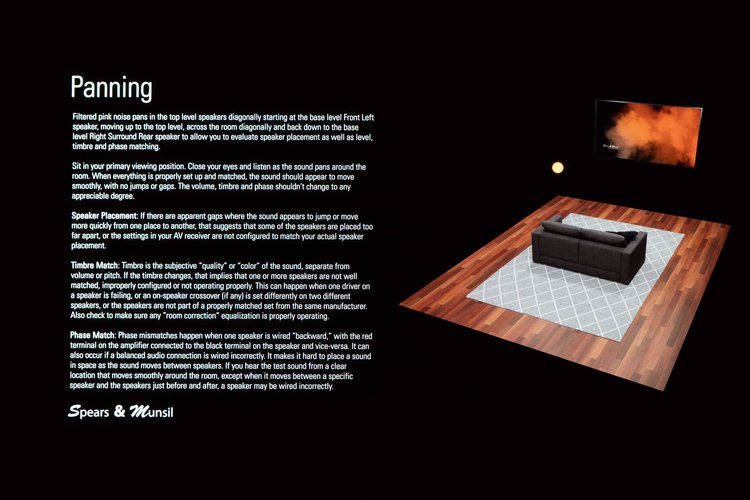
Pan outputs a test tone in which the sound moves.
The 'Ring Test' allows you to check rattling sounds in windows, doors, walls, ceilings, furniture, etc. If you play the “500 Hz to 200 Hz” or “200 Hz to 15 Hz” test tones at high volume, you may hear a clanking sound due to ringing, which may also occur while watching a movie. Through testing, you can find problems in advance and take countermeasures.
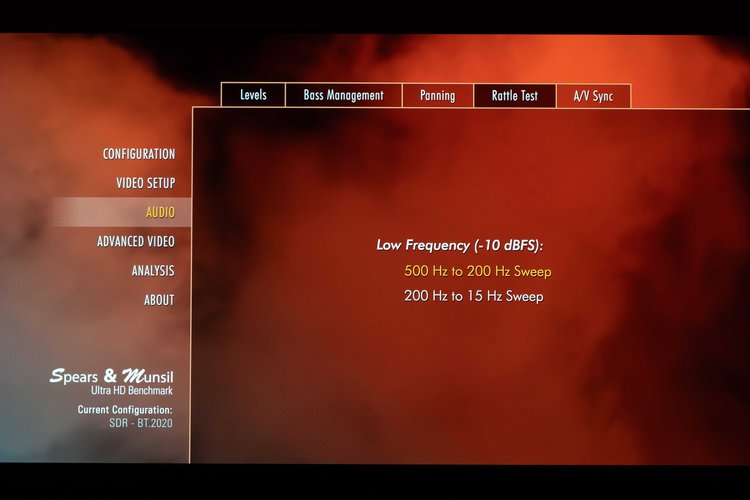
Crackle Test lets you test sound from 500Hz to 200Hz/200Hz to 15Hz
“Spears & Munsil UHD HDR Benchmark (2023)” has a huge amount of content, so it is difficult to use it all, but this time we have selected and provided useful items for setting and adjustment. In the future, I would like to demonstrate the uses and usages of other patterns through practical use.
Share this article

“Travel maven. Beer expert. Subtly charming alcohol fan. Internet junkie. Avid bacon scholar.”
More Stories
Enjoy a hot cigarette while looking at whales and tropical fish under the sea ⁉︎ “Ploom Dive” is an amazing spatial video experience using Apple Vision Pro
Apple Watch now supports sleep apnea, watchOS 11 released – Impress Watch
ASCII.jp: New macOS Release! macOS Sequoia 15 Can Display Your iPhone Screen on Your Mac!